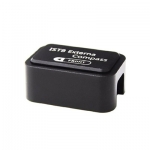
[CUAV] 픽스호크 PM 파워모듈 Pixhawk HV_PM Power Module XT60 Plug
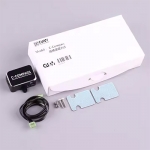
V5+ 용 케이블 포함
현재 상품 카테고리
![[알씨뱅크] [CUAV] 픽스호크 PM 파워모듈 Pixhawk HV_PM Power Module XT60 Plug](/shop/data/goods/1641955160947l0.jpg)
판매가격 : 99,000원
상품번호 : QQ68554
※문의시 상품번호를 알려주세요
※문의시 상품번호를 알려주세요
상품상세설명
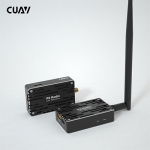
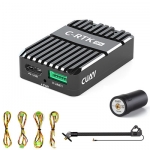
HV_PM Power Module
10-60V Pixhack Pixhawk XT60 Plug For RC Drone FPV
![[알씨뱅크] [CUAV] 픽스호크 PM 파워모듈 Pixhawk HV_PM Power Module XT60 Plug 1](https://dronewe.com/web/upload/NNEditor/20220111/a0145c46f54f06d2fb4f890b3935e108.jpg)
![[알씨뱅크] [CUAV] 픽스호크 PM 파워모듈 Pixhawk HV_PM Power Module XT60 Plug 2](https://dronewe.com/web/upload/NNEditor/20220111/2cfcc78953a3bc0b6cc1ffe5d98c27eb.jpg)
Feature:
Hold more high input voltage: 10v-60v (3s ~ 14s battery)
More accurate current and voltage detection: Voltage detection accuracy: + – 0.1v; Current detection accuracy: + – 0.2aA
Support higher power port output current: 5A
Maximum (detection) current: 60A
Function:
Provide 5V voltage output and maximum 5A current to fly control power supply
Detection of the current voltage output analog signal to the flight control
Detection of the current system output analog signal to the flight control
Because PIX flight control ADC maximum detection voltage of 3.3, so the maximum can only support 60A current detection.
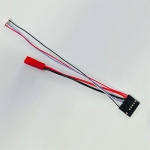
Its use is very simple, 6P signal line into the flight control POWER connector
Ground station settings:
Use USB or digital connection to the ground station
Initial Setup >> Optional Hardware >> Battery Detector
Select monitor: 4; Sensor 0; APM version 4; Fill in divider ratio 18; fill amperes per volt: 24
Manual calibration voltage:
Because the PM module is an analog sensor device, there may be some differences
You can calibrate the parameters for better accuracy
Pre-calibration preparation:
1: Multimeter or BB ring (calibration voltage use)
Calibration voltage steps:
1: Use battery power, and connect to the ground station
2: Use the multimeter or BB to measure the current battery voltage
3: Select the sensor version is 0, in the measured battery voltage input current measured voltage filled into the box, click the mouse or click the TAB button, the ground station will automatically calculate a partial pressure ratio coefficient and automatically save the write Flight control
4: The calibration is complete, no current calibration required.
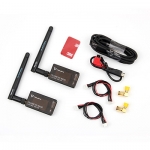
Package Included:
voltage current *1
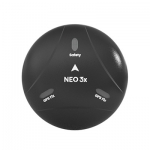
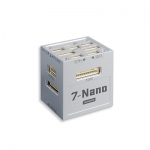
For pixhack version, For pixhawk version, For V5+/nano version, For X7/Nora version
기본정보
상품후기 (1)
상품문의
판매가격
99,000원
회원할인가격
99,000원
적립금
990원
상품번호
QQ68554
제조사
CUAV
관련상품